“This write-up covers all the dimensions of the Office 365 migration-related tasks. It will cover the topics of migration to Office 365 and from Office 365. Also, as a solution, an Office 365 migration tool is explained”.
Are you someone who is moving around Office 365 and want to migrate from any source to Office 365 and from Office 365 to any target? If you’re willing to migrate from PST to Office 365, Office 365 to Office 365, Exchange to Office 365, and Office 365 to PST migration, then you’re on the right blog.
Here you’ll learn about an advanced Office 365 migration tool capable of migrating in an efficient and straightforward manner. As we know, Office 365 is a cloud-based software as a service developed by Microsoft. Today Office 365 is used by many organizations and millions of individuals around the globe, and counting is still rising. It provides many offers and features that attract users towards Office 365. Getting many services in a single subscription plan attracts the market toward Office 365.
But, many users who are willing to migrate to Office 365 have a common query how to migrate to Office 365?
How to do Office 365 Migration?
To migrate to Office 365 or migrate from Office 365, we have a one-stop solution for this. This one-stop solution is developed by keeping the user’s needs at the centre of the development process.
Shoviv Software has developed this utility, and the software is named Shoviv Exchange Recovery, aka Shoviv Office 365 Migration Tool. After having this utility, there is no need to struggle with the manual steps/ways and their limitations, drawbacks, and risk of data loss. Let’s dive deep to explore this utility:
Shoviv Office 365 Migration Tool: A One-Stop Solution:
Shoviv Exchange Recovery Manager, aka Shoviv Office 365 Migration Tool, is a multi-purpose utility that offers a lot. Let’s list its features and offerings:
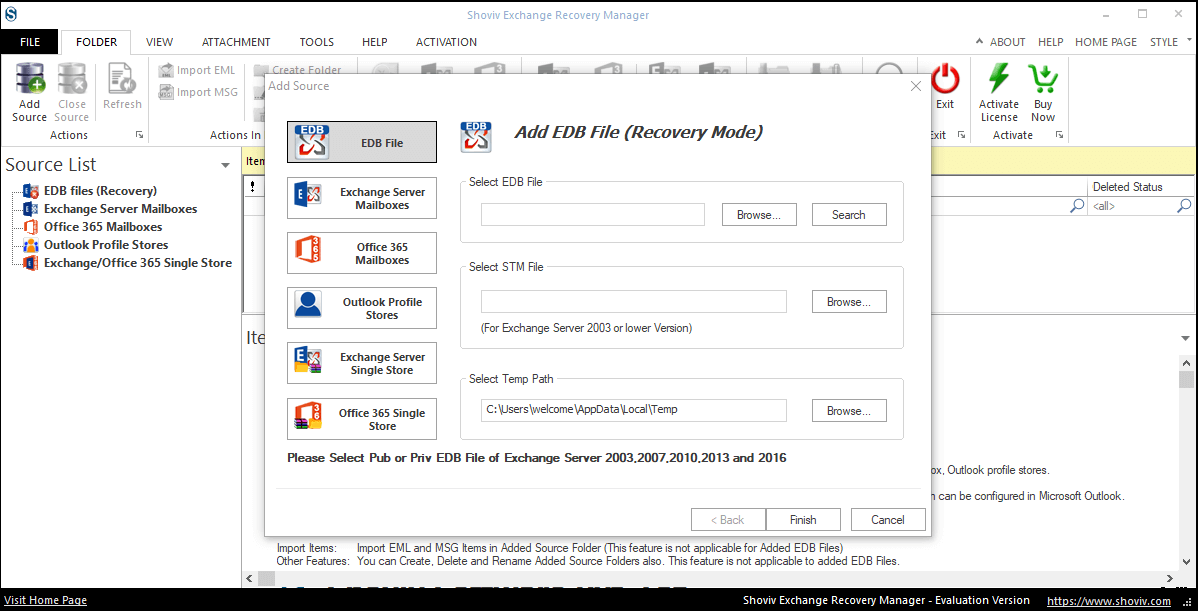
- The software allows adding of multiple sources. Users can add EDB files, Exchange Server Mailboxes, Office 365 Mailboxes, Outlook Profile Stores, Exchange Server Single Store, and Office 365 Single Store.
- Along with Office 365, this software also allows migrating into Live Exchange and Outlook PST.
- This Office 365 migration tool allows the addition of multiple mailboxes for the migration. There is no restriction on the size and number of mailboxes.
- Users can also save items in other file formats like MSG, EML, HTML, RTF, vCal, and vCard.
- As its name clarifies, this utility also does recovery tasks. If you add corrupted Pub. EDB and Priv. EDB then it will first recover and then execute the migration.
- To ease the process, the software has a search option and filter facility. Users also get a preview of the added items before the execution of an actual process. Previewing helps in cross-checking.
- If you choose Outlook PST as the target, you can set the size for the resultant PST files.
- This Office 365 mailbox migration tool comes with an incremental export facility. The incremental facility helps users to resume the process after stoppage. It also prevents duplicity in the target.
- The software shows the complete process report. If you need, you can save the report in HTML.
Steps for the Office 365 Migration using the Shoviv Software:
For now, I am showing you the complete process of migrating Exchange to Office 365 with this Office 365 migration tool. Although Shoviv Exchange Recovery Manager offers many functionalities, a few steps may vary per your task. You have to select the source and target as per your requirements.
- First, install and open the Shoviv Exchange Recovery Manager.
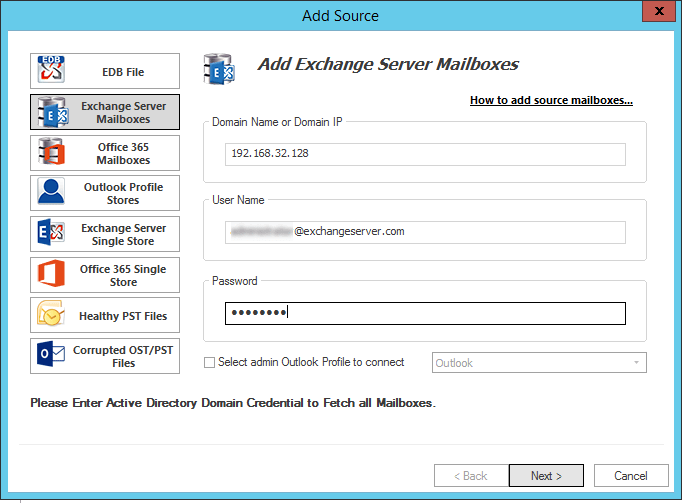
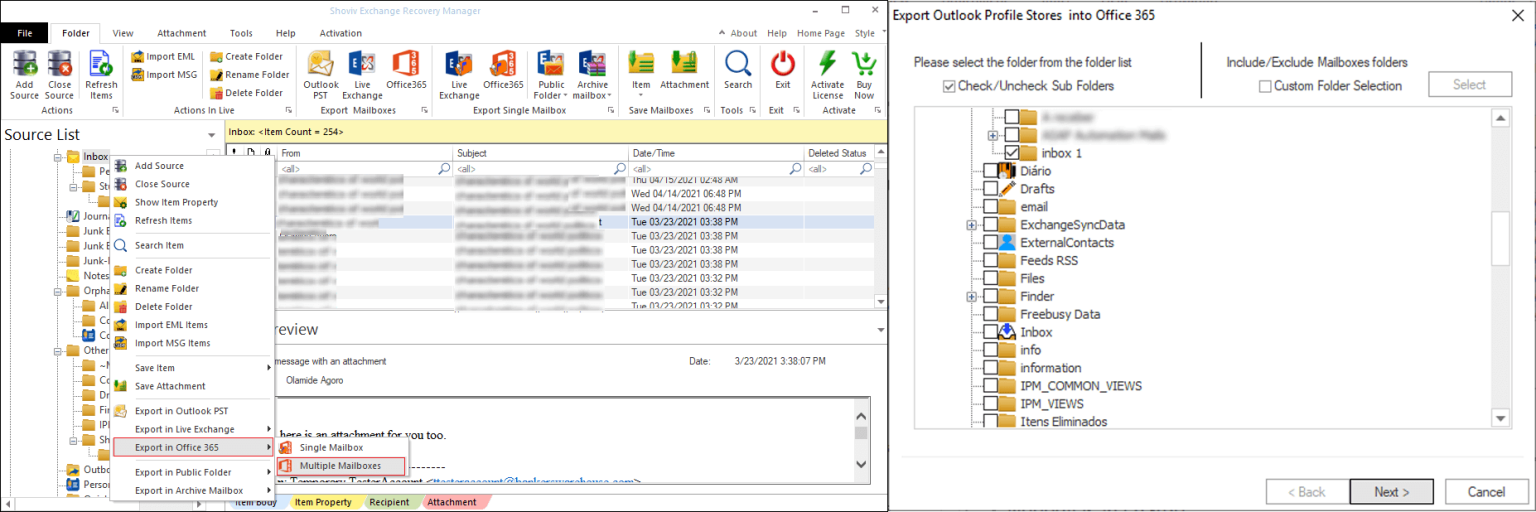
- Click on the Exchange Server Mailboxes from the source list. Click on How to add source mailboxes… to know more. Use the Outlook Profile option if MFA is enabled. Click Next.
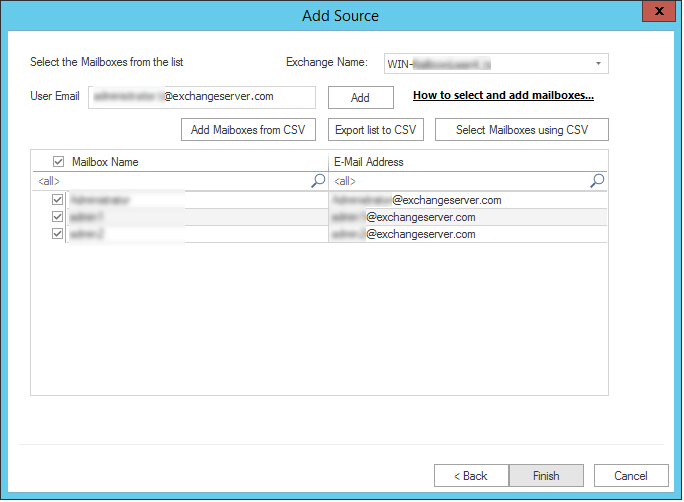
- Now, you will have a complete list of the mailboxes. Please check the mailboxes to confirm the migration of them and click Finish.
- Select the Office 365 option from the ribbon bar. Here, you will see the source data under the source list. Also, you have to check/uncheck subfolders and click Next.
- Now you are at the target selection section where you must go with the “Fetch all Mailboxes from Outlook Profile” option, as MFA is mandatory now. Select the Outlook profile and click Next.

- The next step is to map the source mailboxes with the target and validation of them. As validation completes, click on Next.

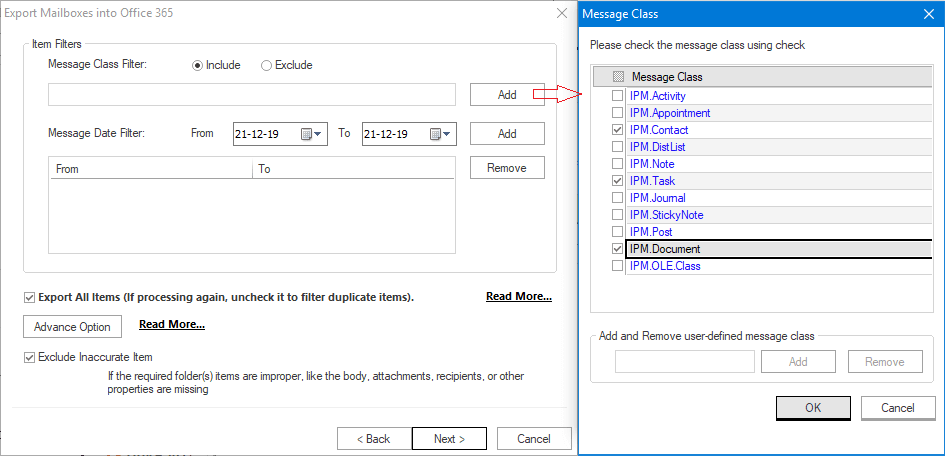
- You are now prompted to the filter section. You have two filter options Message Class Filter and Message Date Filter. Click next after applying the filter. For the first-time migration, keep checking the “Export All Items” checkbox.
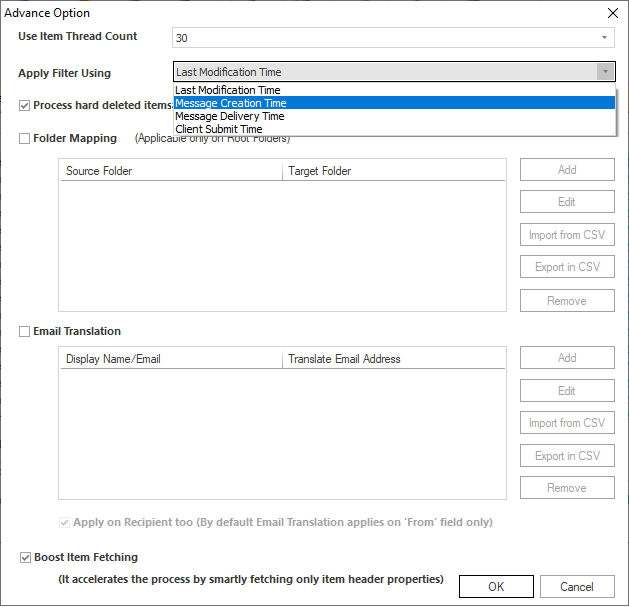
- Also, there is an Advanced Options tab clicking, which you can avail of Folder Mapping, Email Translation, and other user-centric options. Click Ok.
- Finally, the migration process will start, and you can see the complete report of the process, including all the aspects. After completing the process, you will get a dialogue box “Process Completed Successfully”. You can also save the report for future reference.

Summary:
In this write-up, we learned about a multi-tasking professional third-party professional tool called Shoviv Exchange Recovery Manager. This tool offers all kinds of Office 365 mailbox migration facilities, so it is a one-stop solution for Office 365 migration. A detailed step-by-step process is shown in this write-up. Shoviv also offers to download a free trial version to have a demo of the software.


- How to Backup and Restore Emails in Webmail? - March 25, 2025
- How to Migrate Outlook to New Computer? - February 15, 2025
- Fix If Outlook Cannot Display the Specific Folder Location - February 1, 2025